
timelaps first try
In October 2019 I first tried a timelaps with my Fuji X-T3 on our visit to the dutch coast. Since I had never done timelapses before I consultated the manual for the basic settings of the build-in interval timer of the XT-3 and some youtube tutorials on how to set up the shutter speed to smooth out the motion of the footage. Below I will try to explain my process in detail.
Gear
As I mentioned above I used my trusted Fuji X-T3 for this work as it is my go-to camera for all non-wildlife photography stuff whereas the lense I used was the XF 18-55mm f2.8-f4.0 R LM OIS with a Hoya ND filter attached. Due to the long exposure times and to keep all shots framed equally, I had to use a tripod for this kind of photography. The Novoflex TrioPod with a MagicBall ball-head was my first choice here.
Camera Settings
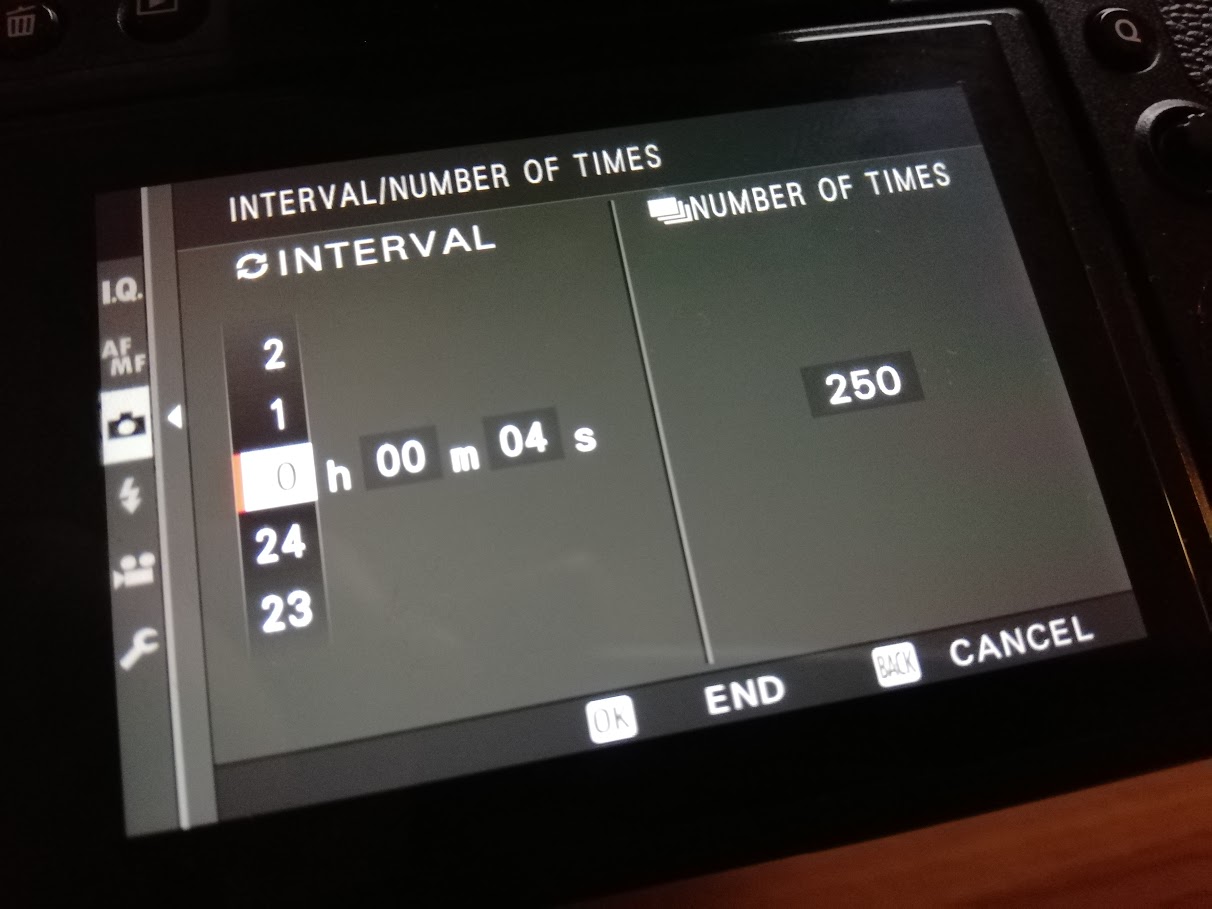
To get smooth movement of the people walking through the sand I needed to get my shutter speed down a lot, so I choose 2 seconds. To get as little noise as possible the ISO was set to 80 and to get a nice amount of depth of field - and not get to much defraction - the aperture was set to f/8. After a few testshots I decided to use a ND filter, because my pictures were way to bright.
Editing
After we went home and I dumped all my files onto my computer I needed to edit all the 250 files with lightroom, as I shot everything in RAW. My idea was to edit the first picture, transfer all the changes I made to the last one to see if its looks good and applied all the changes to the rest of the pictures.
In hindsight I would say, this was a good idea which saved me a lot of time and led to consistant results for this particular timelaps. After exporting all the images as JPEG files I imported the files into Davinci Resolve. I created a timeline for 2k video in 25p and Resolve automatically detected the sequence of file names so it was treated as a movie clip. So I just needed to export the timeline to make a clean 2k mp4 video file.
Result
Here is the final 10 second clip.
What to improve next time?
I did a mistake, something I didn't realise when I was doing my testshots. I left the camera on autofocus... So there were little focus adjustments during the interval shooting which led to a lot of pictures out of focus and eventually to blurry video footage. You clearly need to focus correctly during your testshots and switch the camera to manual focus for the interval shooting.
Comments